If you want reliable State of Charge (SoC) and clear insight into RV power use, a shunt-based monitor is the gold standard. Below is a concise guide to what a shunt does, why the Victron SmartShunt is popular, how to size it, where to install it, and how to set it up with VictronConnect. Professional supply, installation, and configuration available across Auckland.
What a battery shunt does (and why it beats a voltmeter)
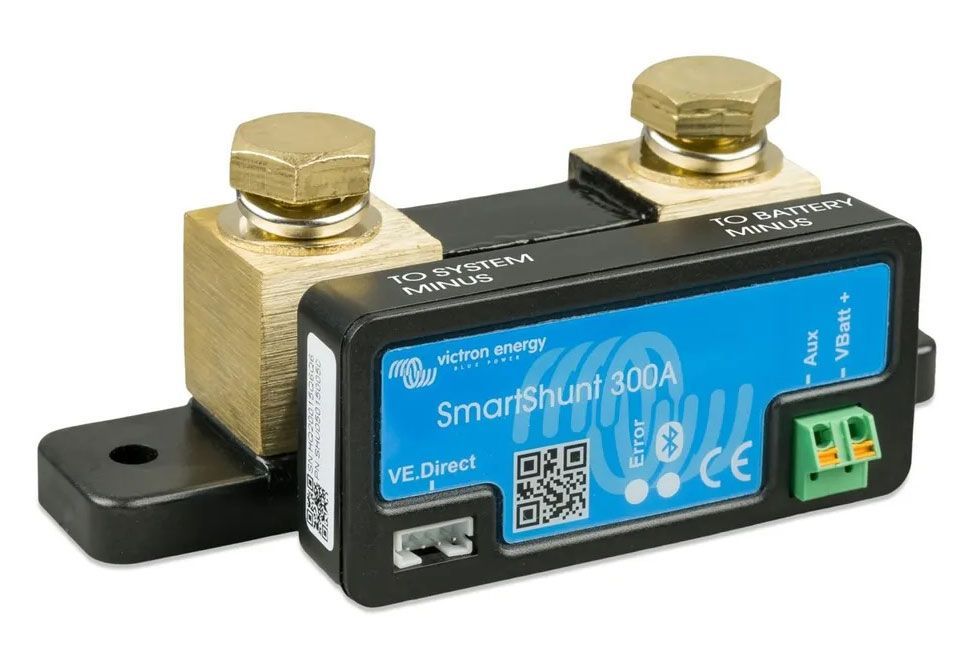
- A shunt is a precise resistor installed on the battery negative that measures all current in and out of the battery.
- The monitor “coulomb counts” (tracks amp‑hours) for accurate SoC, time‑to‑go, and charge/discharge history, far more useful than voltage alone, especially with lithium.
Why choose the Victron SmartShunt
- Built‑in Bluetooth: View SoC, amps, volts, and history in the VictronConnect app—no separate display needed.
- Flexible inputs: Monitor a second voltage (e.g., starter battery) or use midpoint monitoring on a series bank.
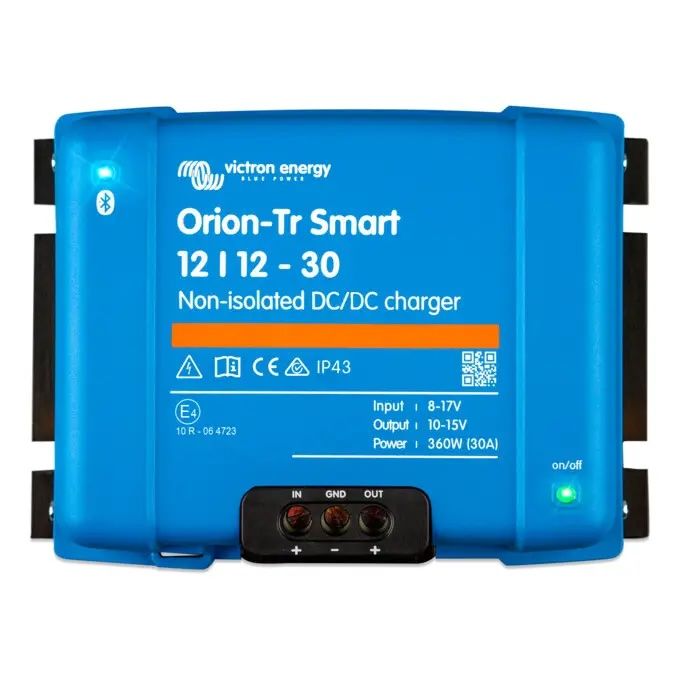
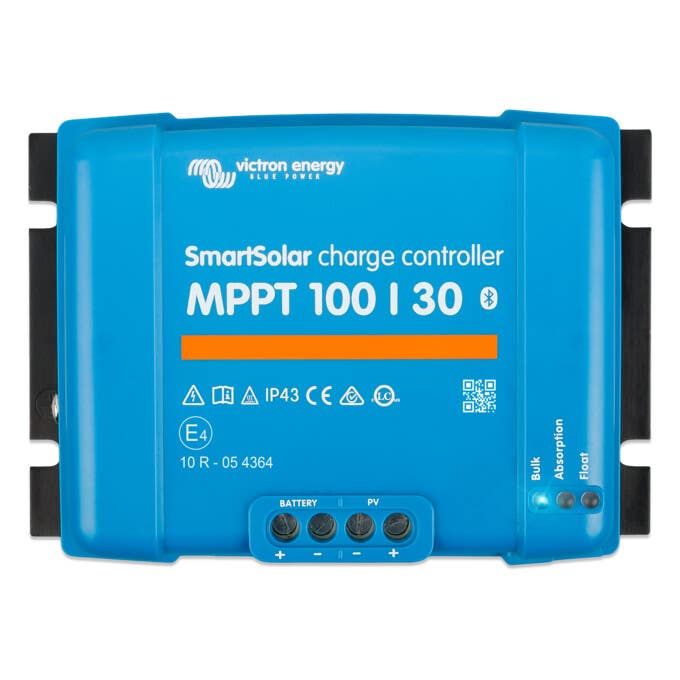
- Integrates well with solar MPPTs, DC‑DC alternator chargers, shore chargers, and inverters.
- Compact for tidy installs close to the battery.
Model options and sizing
- 500 A (common for most RVs), 1000 A (larger inverter banks), 2000 A (heavy/specialist systems).
- Choose based on your peak DC current. For inverters up to ~1500–2000 W in typical RVs, 500 A is usually sufficient; larger systems may need 1000 A.
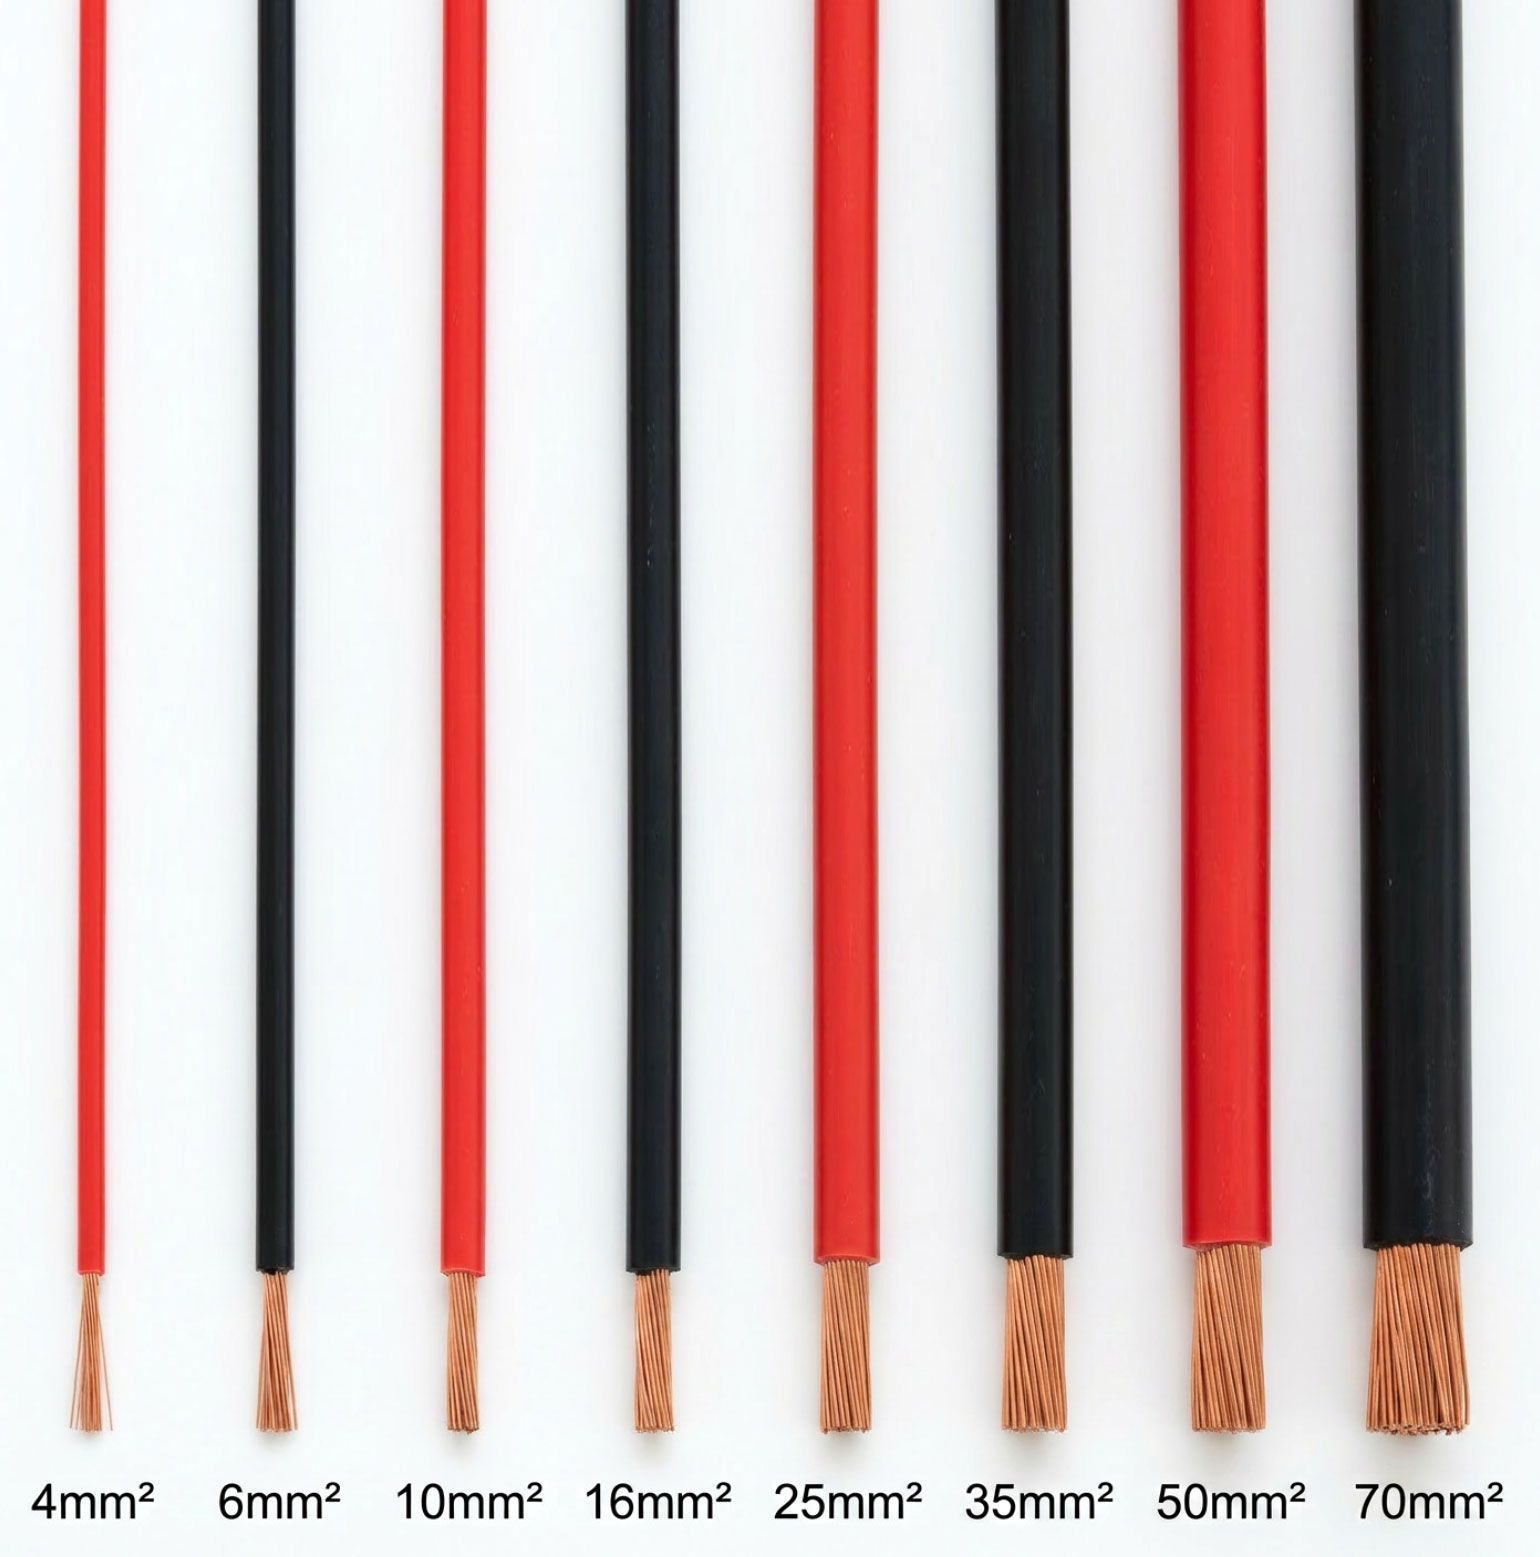
- Match with correct cabling, lugs, and DC protection for your maximum currents.
Where the SmartShunt fits
- Install on the main house battery negative.
- Battery side: Only the battery negative connects here.
- System/load side: Every house load and charger negative must be on this side (solar MPPT, DC‑DC from alternator, inverter, DC loads, shore charger). Any bypass will cause incorrect readings.
- Mount close to the battery in a dry, accessible, ventilated area. Avoid engine bays and wet/spray‑exposed locations.
Setup in VictronConnect (key steps)
- Battery capacity: Enter usable Ah (e.g., 200 Ah LiFePO4). For lead‑acid, consider realistic usable capacity.
- Chemistry parameters: Set charged voltage, tail current, Peukert exponent, and charge efficiency appropriate to your battery (near‑unity efficiency for lithium; Peukert and efficiency matter more for AGM/lead‑acid).
- Synchronise SoC: Fully charge the battery (current tapered, charger in float), then use Synchronise to set 100%.
- Optional: Configure the second input for starter battery voltage or midpoint monitoring.
Tips for accurate readings
- Periodically reach a true full charge so the monitor can resync and maintain SoC accuracy.
- If readings seem off, look for any negative leads bypassing the shunt—a common install mistake.
- Ensure DC‑DC charger and MPPT negatives both pass through the shunt.
SmartShunt vs BMV‑712
- SmartShunt: Best for app‑only monitoring and a minimal, hidden install.
- BMV‑712: Adds a physical display plus Bluetooth for at‑a‑glance data without opening the app.
Need help?
We supply, install, and configure Victron systems across Auckland and can optimise your setup for accuracy and safety.